
From Draft to Published Article: My Ultimate Toolkit to Go from Idea to Article in 5 Steps
I write and publish 'mostly' daily and needed a workflow that allows me to go from idea to published article in a frictionless way.
Today I decided to share my workflow and the tools I use and how I go about using them for daily writing and publishing.
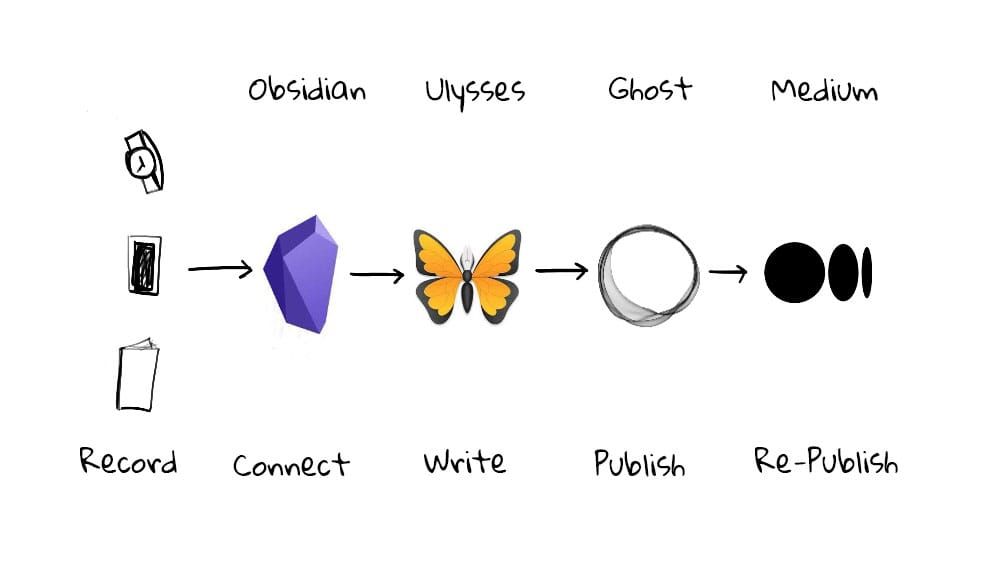
It is split into 5 stages and includes screenshots of how I wrote this article!
1. Harvest Ideas
Ideas come to me at different stages of my day. It could be while I’m driving, while I’m running, in a meeting, or during my sleep.
I try to catch them all! The tools I use depend on exactly when and where I’m at. The quickest way to capture something is using my Apple Watch. I have it configured so I can record a note with the press of a button. If I’m running, I actually use my headset for it.
All I do is talk and outline the title and some ideas I want to get across.
I do the same on my phone using Apple Notes or a shortcut I created to share something directly with my Obsidian inbox.
Anything else goes into my writing journal. Yes, I have a journal dedicated to writing! I’ll probably write about it soon; don’t worry.
My notes from my electronic devices usually also end up in my writing journal, where they simmer and cook. When I’m ready, I take them to the next stage.
2. Connect, Research, and Assemble
Obsidian is my digital garden, where all my ideas bloom.
As it is based on pure text files, I can trust it 100%. My collected ideas end up here, as well as any references I might need. Using Obsidian, I connect my thoughts and ideas. I shape the bones of my article.
Sometimes, I don’t know what exactly I will write about, so I wander around in my garden, look at the different notes, and take inspiration from them.
This is not the post about Obsidian, digital gardening, or any of that; be patient; it might be written soon.
So I leave you with an image of what this article looks like in Obsidian once I connect ideas.
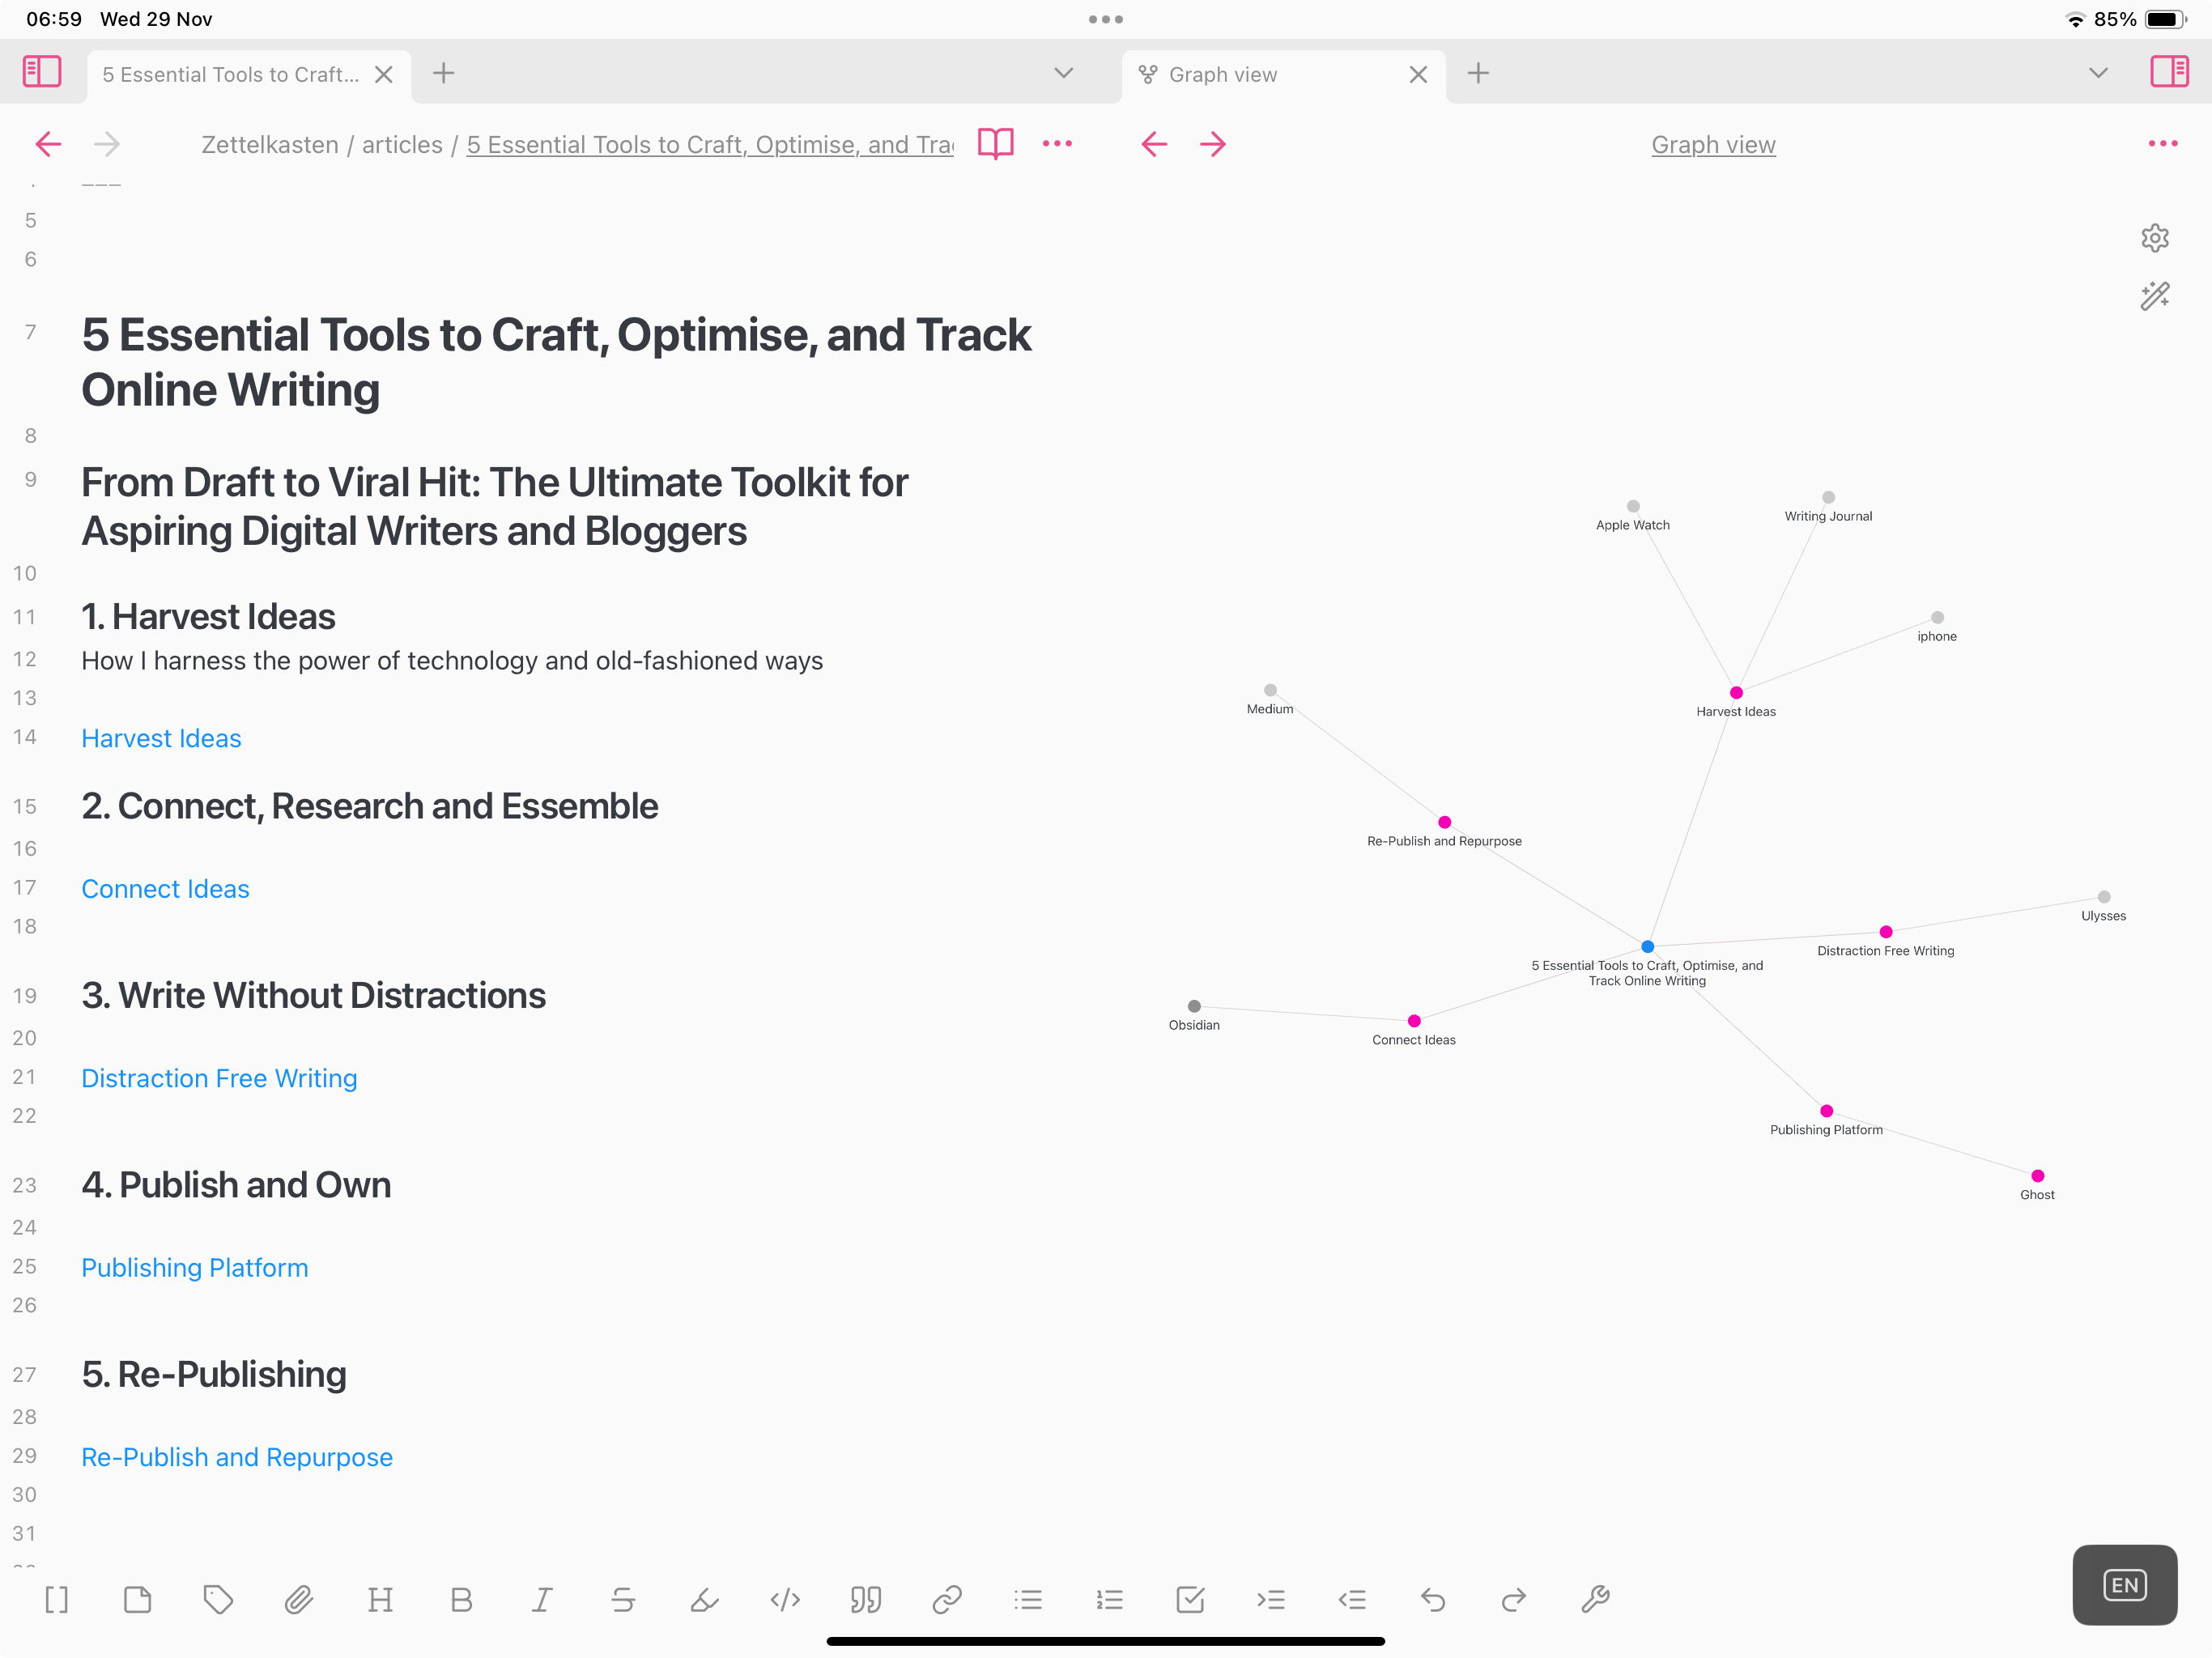
The beauty of Obsidian is that it works with Markdown text. which means frictionless writing in my next step.
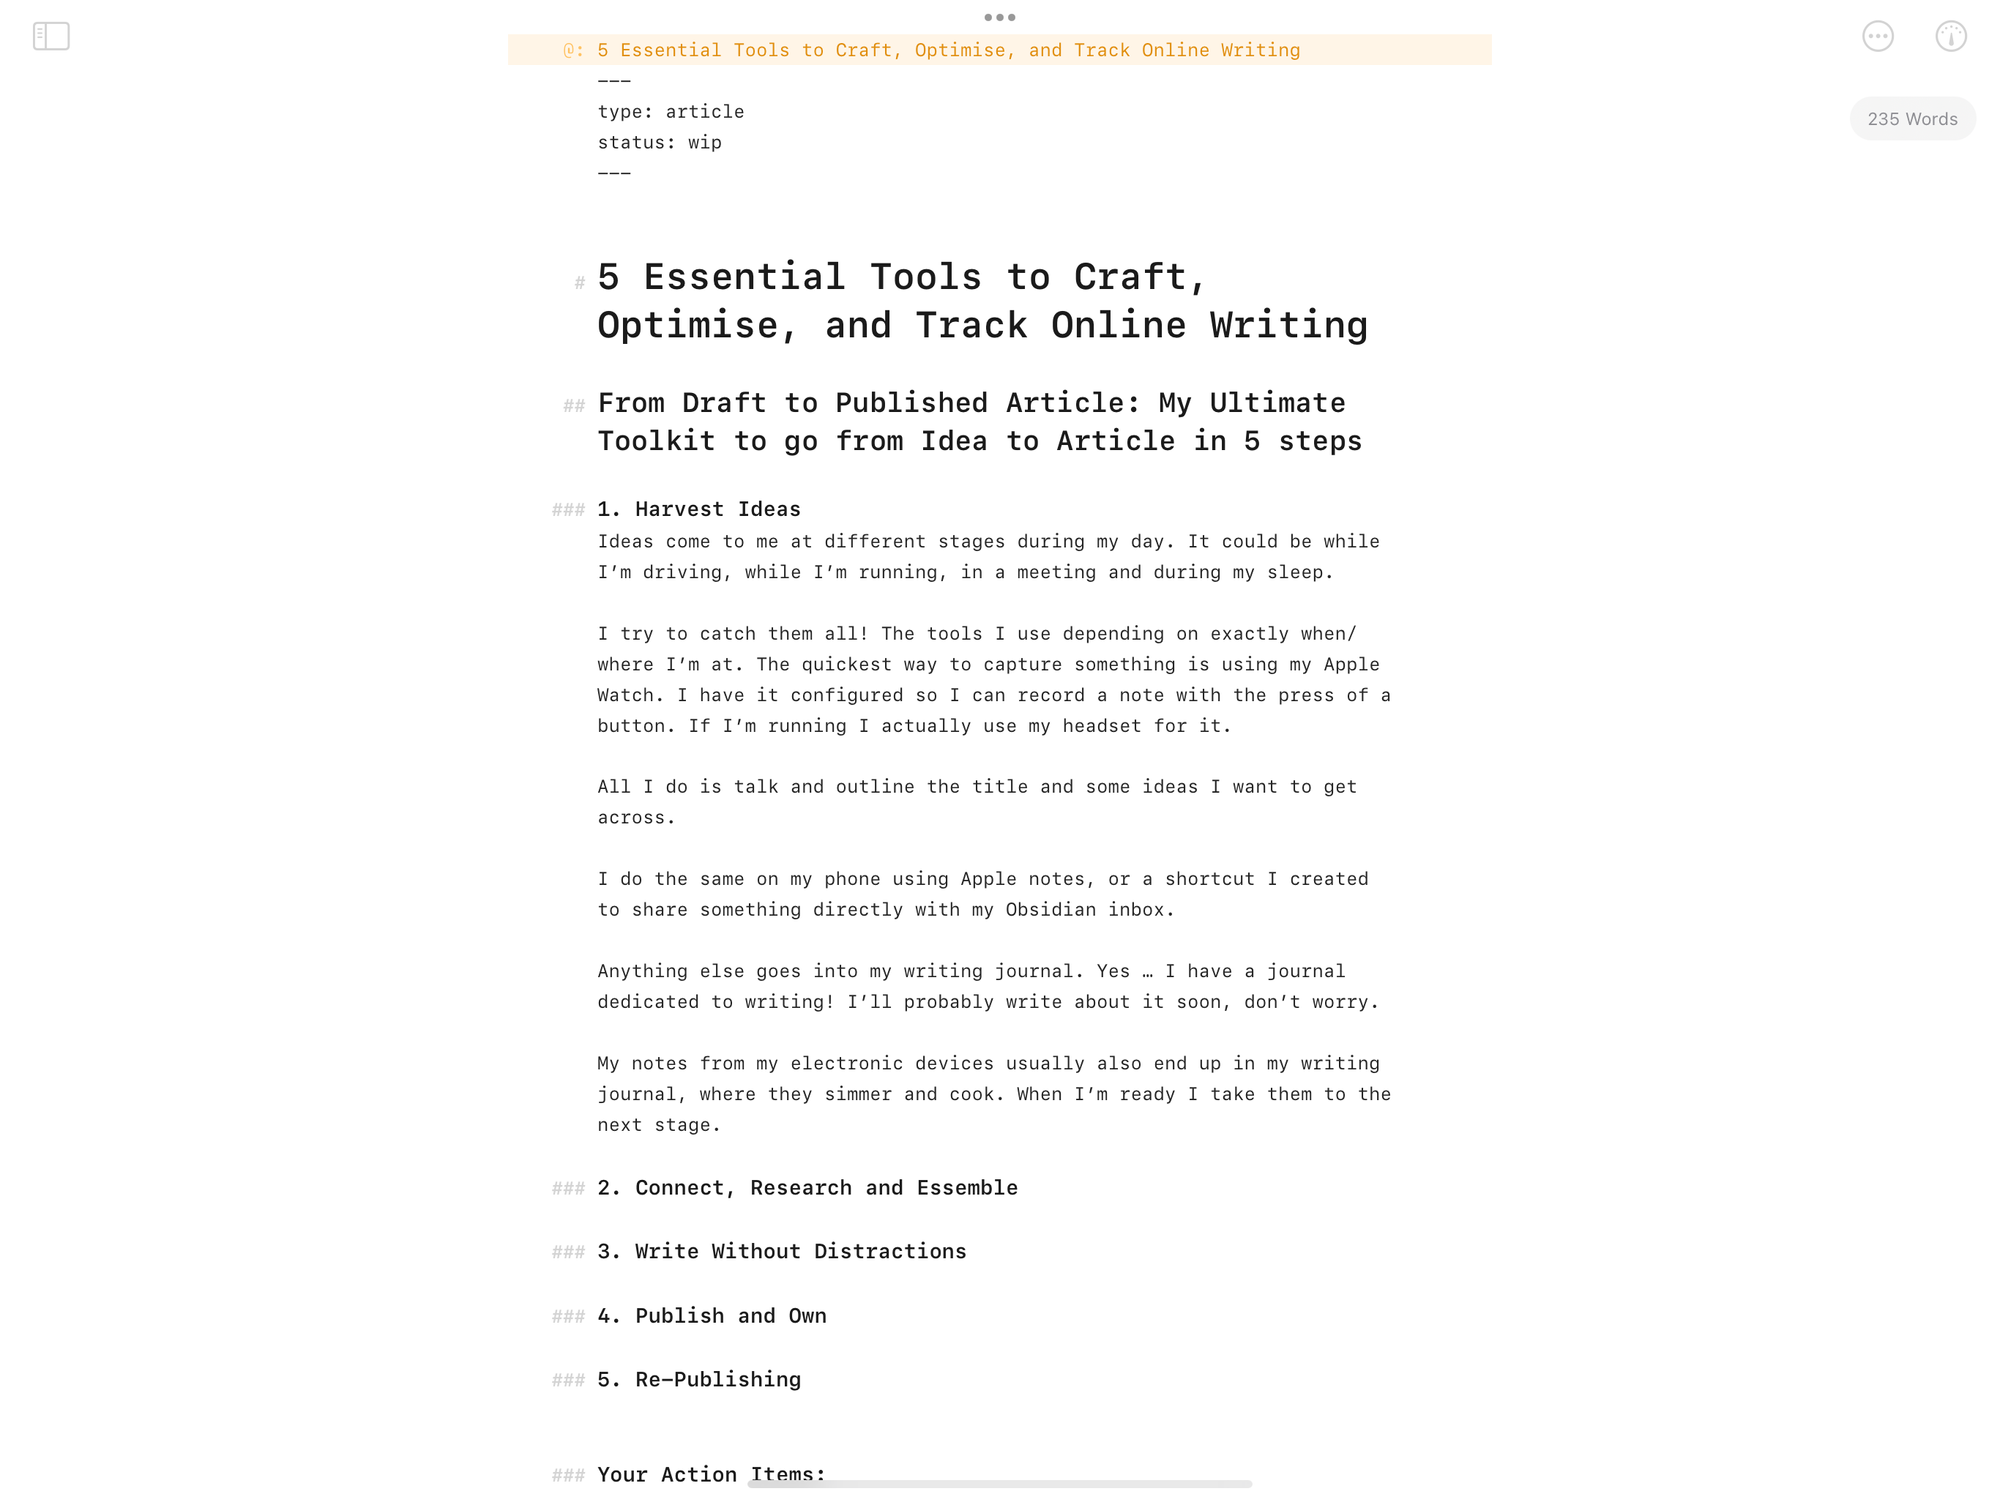
3. Write Without Distractions
The next step is to just write. Once I have the skeleton, I’m ready to just let my thoughts flow onto the page.
For this, I use a tool called Ulysses. I have my Obsidian files connected to it, or rather, I point Ulysses to the same folder, so when I start it, I’m pretty much already greeted with my assembled skeleton.
I use full-screen, set a pomodoro timer, and start writing. I try to write it all down in one 25-minute session. Most of the time, that works for me and I write around 800 words.
As I write daily, I can’t justify spending more than 1 hour per day on writing or publishing. (There is an idea for another article! So I wrote it down in my writing journal!)
4. Publish and Own
One of the main features I love about Ulysses is that I can directly publish to Ghosts. In case I want to change something later, it will also be connected, and I can update my post.
I use a hosted Ghost version, as I just don’t want to mess with updating the software. I do enough of that during my day job. Thank you very much.
In Ulysses, I click ‘publish’, tag my content, make sure it has all the bits it needs, like an excerpt, and that the image fits.
Once it is published in Ghost, I copy the URL, and it is on to the final step:
5. Re-Publishing
I recently started to re-publish my articles on Medium. The last step in my process is to go to my stories and import my article by pasting the URL I had copied.
After I make sure that I tag it appropriately, the article gets published on Medium, and I’m done for the day with my writing.
I also use Medium to track if my article gets read and how it performs.
Your Action Items:
- Create Idea Collection Baskets: Start by collecting all your ideas. Use the simplest method you can find, and make sure it works in all situations.
- Assemble your ideas: Have a tool to connect different pieces and shape your ideas into a skeleton.
- Write distraction-free: Set a timer and write without distractions.